Install it yourself.
Once your fence extenders are in, the panel installs with a drill, a level and a tape measure. Two people make it easier on long runs.
- 01
Install your fence extenders
You or your contractor attach the extender you chose to each existing fence post at the post locations in your approved design. Set each one plumb and level, all at the same height.
- 02
Lay out the panel
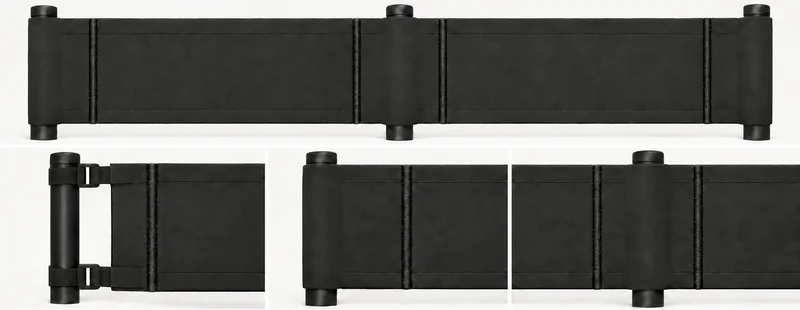
Unroll the panel along the fence with its pockets lined up with your inner posts. The battens are already sewn into the panel.
- 03
Slide the panel onto the inner posts
Lift the panel and slide each inner post into its pocket. The pocket wraps the post front and back and has about 1.5 in of side-to-side room, so center the post in the pocket.
- 04
Wrap the end straps
At each end, the top and bottom webbing continues past the panel as a strap. Wrap each strap around the outer post and feed it through its pull-through fastener with the buckle facing out.
- 05
Tension the panel
Pull the straps evenly at both ends until the fabric is smooth and taut. The straps give you about 4 to 6 in of adjustment in total.
- 06
Level and lock the height
Check that the panel sits at the same height on every post. Drive one self-tapping screw at each center post to hold the panel at that height.
- 07
Attach the end covers
Wrap a removable cover around each outer post and press it flat onto the 2 in hook-and-loop strip at the panel edge. The panel and batten stay exactly where they are.
- Drill or driver
- Tape measure
- Level
- Pencil
Corners
Two straight panels meet at one shared corner post. Install each panel as its own run, with its own straps and cover. Never bend one panel around a corner.
Care
Re-tension the straps each season. To store for winter, loosen the straps and lift the panel off; the posts can stay up.
Installation video coming soon. Placeholder